This week I summarise the first four turns of our Battle of the Alma wargame. Fought in September 1854, the Alma was the first of the big battles on the Crimean peninsular. Previously, we played the Battle of Kurudere, which took placed between Russian and Ottoman Turkish forces in eastern Anatolia. This turned out to be a Turkish victory (ahistorical - the Russians won in reality). You can read more about our Kurudere game here.
The Russian army under Alexander Menshikov, defending the strategically important naval base at Sevastopol, chose to deploy on the heights overlooking the river Alma, blocking the road from the allied landing beach. This was a sensible position, forcing the allies to attack across a river and up a steep slope.
Approaching the Russian position were two divisions, one under the command of British general Lord Raglan, and the other under French general Jacques Arnaud. The French were also reinforced by a Turkish brigade under Suleiman Pasha, with additional artillery support from British and French warships anchored offshore.

Above: Early in the battle, the British brigades are pink and red, bottom left, with limbered artillery (black). The Light Brigade is in white in advance of the main force, approaching Karlysch. On the right are the French (blue) and Turkish (yellow) brigades. The Monopoly houses mark villages flanked by vineyards (I am planning to paint these in future). The Russians have deployed in the top left corner of the picture. The Turks are marching down the main Sevastopol road towards the bridge over the Alma at Bourliouk.
We played the game using Bloody Big Battles by Chris Pringle. Both sides had to opt for their preferred strategy on the day, with the British secretly going for a frontal assault against a Russian flank strategy. This meant the Russians needed to protect the road leading to Bakshiserai via the village of Uleschel, as well as stopping the French from moving their two brigades off through the Sevastopol exit.

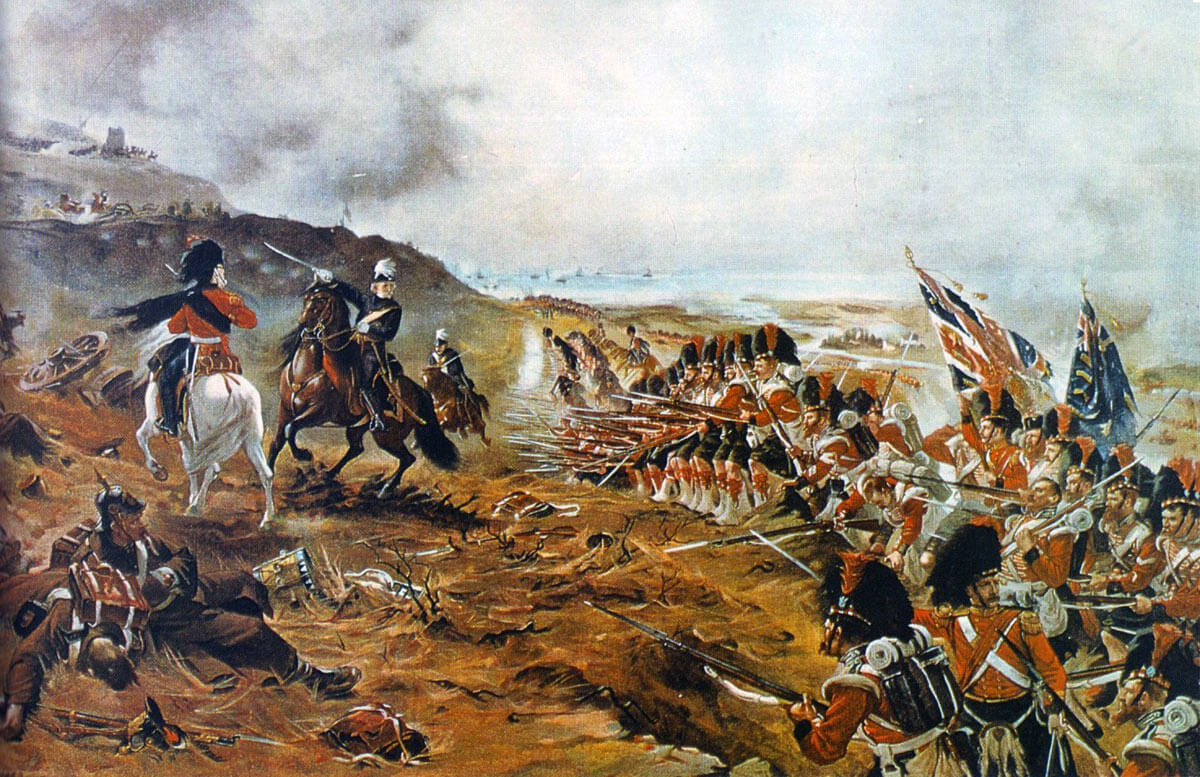
Above: Lord Cardigan's 600 ride into the teeth of the Russian guns. I think we both regularly over-estimate the capability of cavalry regiments in this period. By the 1850s their utility was well in decline and this is perfectly illustrated with these rules. In many armies the love of nice-looking hussars and cuirassiers meant cavalry regiments still took pride of place right up until the end of the century. Hard lessons were not learned in the Crimea!
As the Russians, I deployed most of my artillery to defend my right flank, but assigned my cavalry and half my infantry to moved towards my left to try to stop the huge, high quality French brigades, stiffened by their marines and zouaves. Efforts to set light to some of the villages in the valley failed dismally - the hope had been these would help to block the line of sight of the allied artillery.
The French advanced rapidly, and managed to get a brigade of infantry off the field quickly. By then the Russians had moved to block the road, with the Russian hussars coming in on the left flank to stop the French vanguard. The French still needed to get a second brigade plus some artillery off the field. The naval guns proved to be out of range of proceedings and unable to influence the affair.

On the right the British advanced merrily and threw the Light Brigade into the fray early, but did not bargain with the large number of dug in Russian guns overlooking Karlysch.
The British cavalry was decimated, and it was left to the elite British brigades, armed with rifles, to push forwards over the river and into the teeth of the Russian position. These were high quality troops and they drove through the first Russian regiment which tried to stop them. The picture above illustrates the situation around 2.30pm - the British battalions are taking a pounding from the Russian artillery, but are poised to overrun the Russian emplacements.

Above: Developing situation on the allied right flank around 1.30pm. This shows you the size of the big French brigades as they ford the Alma, largely unmolested. The Turks (yellow) have wheeled and deployed in assault formation to face the oncoming Russians. You can see the two small Russian cavalry brigades at the top left of the picture, hussars in orange. A French artillery battery has unlimbered just south of the Bourliouk bridge and is shelling the lead Russian brigade.
We have paused the battle at 3pm in the afternoon, after four hours of fighting. The allied army needs to fulfil its victory conditions by 6pm. So far it is looking good for them - the British are very close to controlling the roads they need to hold. The French have a fight on their hands now, but they have the manpower to drive the Russians off the Sevastopol road, so long as luck does not turn against them. The Russians are a long way from threatening allied communications with their beachead.
I am hoping we get to conclude the battle before my traditional summer break in the Balkans...
Comments
Post a Comment