It being half term, and me being in urgent need of somehow entertaining kids, I decided to put on a game of The Sword and The Flame. This is a set of colonial era miniatures wargames rules, roughly covering the period 1879 to 1884, or thereabouts, a fun-packed period for the British Army - not! It was a chance also to get my expanding collection of Zulu War figures on the table. Not everything was thrown down - some guys are still on the painting table, and I held my cavalry back. A good move, as it turned out. Kelvin was on hand to play the British with the help of Maya, who took on command of one British section, while Sebastian commanded the Zulu impi.
The scenario was one I found on Boardgamegeek, and can be downloaded from there. It features a small unit of British engineers engaged in putting a bridge across a river in South Africa when they are surprised and attacked by marauding Zulus. In this post I'll simply detail the action, with the aid of some of Kelvin's excellent photos. In a subsequent post, I'll detail my thoughts on the system.
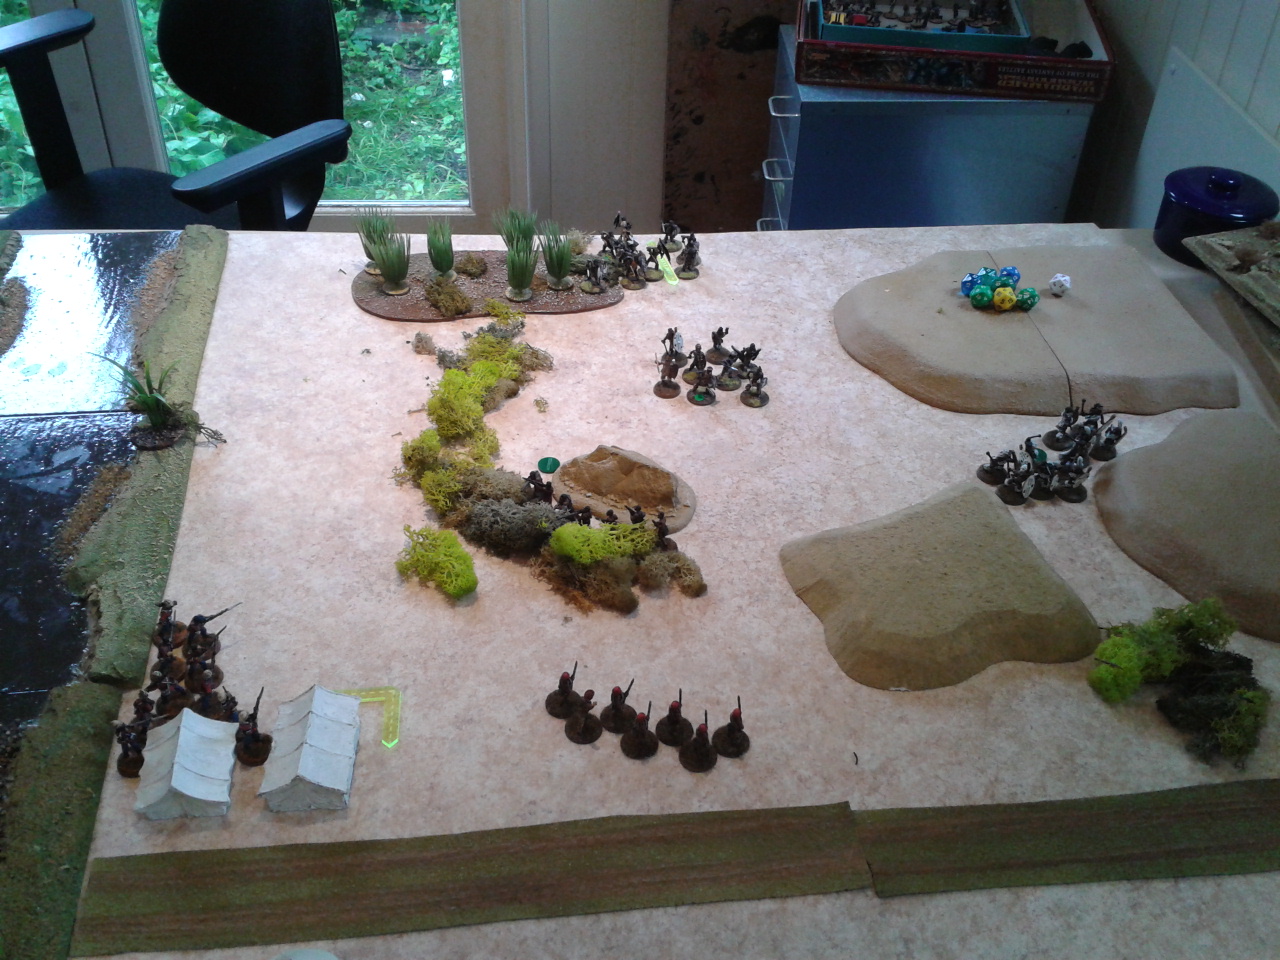
The scenario as it stood sees three sections of British infantry surprised at their riverside encampment by large numbers of Zulus. I beefed the British up by adding a small unit of Natal Natives (NNC) with rifles, and led by a colonial NCO, and a larger unit of Boer volunteers (contemptuously referred to as 'the farmers' by Maya). The whole was commanded by Major Carruthers, who spent most of the battle prancing around on his horse and taking pot shots hither and yon. He was largely useless, but what do you expect from someone who purchased his commission?
The Zulu force was based on a head count of the colonial army, multiplied by three. We had 80 Zulus on the table as part of the first wave, with a further 70 which Sebastian as the induna commanding could recycle on as the arriving head and loins of the impi. I gave him seven counters, which could be swapped for 10 Zulus apiece in his movement phase, if the models were there.
Kelvin deployed on both sides of the ford, with one platoon of British on the south side with the NNC, and two platoons with the Boers and Major Carruthers on the north side. The Zulus were equally split into two horns of the classic buffalo attacking formation. The left horn included a small unit of muskets, plus the elite White Shields regiment making its debut on my wargames table.
The British threw out the NNC as a skirmishing screen on their right flank, and it exchanged rifle fire with the Zulu muskets which were advancing through the scrub to their front. Eventually, the Zulu White Shields rushed them and totally overwhelmed them in a short fight, wiping them out to a man in a very unequal contest. What followed was an elaborate dance between the White Shields and the other British section as it fell back, firing on the advancing Zulus. This opened up the British centre, allowing some Zulus and musketeers to slip across the ford.
On the left flank, Maya brought her infantry from a starting point hiding behind the customs house, across the front of the British line, thereby blocking their line of fire from the advancing Zulus. She finally took up a position on the right of the Boers, which she held for most of the rest of the game against successive Zulu assaults.
As the Zulu right horn eventually broke cover and swept in, the British deployed into a shallower line, with Maya holding the centre, the Boers in open order to her left, in a V-shape to maximise their superior range (they shoot better than British regulars), and another British section out on the far left. It was this section which was eventually overrun by the Zulus and carved up in short order. Most of them were left wounded on the field and relatively helpless.
It was at about this time that the Zulu reserves began to be committed, a sign in part that the initial attack had been blunted. As they swarmed in, the Mayans found they had been outflanked, with Zulus who had crossed the river attacking them in the rear. They hastily formed square, having noted the impact a Zulu charge can have on open order infantry in this game. They were thus able to repel the first serious attack against them, but a second assault left nearly all of the unit dead or wounded, forcing them to hobble back towards the Boers, who were laying down covering fire. Some Zulus had managed to creep in on the Boers' left to try to starting dispatching the British wounded there, but insanely accurate Afrikaaner shooting dealt with them.
 At about this time I got the opportunity to use my new Events deck for this game, as I rolled my first one on the events roll. In this case, the pressure got to the commander of the Boers, who lost it. Luckily for Kelvin, despite this, he didn't do anything too drastic and indeed held position with his unit - exactly what Kelvin wanted him to do. The bawling of Major Carruthers behind him was obviously enough!
In the picture on the left, you can see the Mayans have formed a square, with some troops already wounded. Zulu muskets are trying to snipe at them from behind the mud huts, while another iviyo prepares to charge. The square turned out to be a lifesaver for them, allowing them to repel a charge which otherwise would have swamped them.
By this stage, the Zulus were running out of men, but so were the British. Another charge nearly succeeded in overwhelming the Boers, leaving all but five of them dead of wounded. On the right, the lone infantry section fell back until it was literally against the river. By this stage the White Shields had been decimated, their morale had broken, and their sole survivor on the field was hiding out in some elephant grass. However, the British were suffering too, as another event card determined the effects of bad water were taking hold.
At this stage we called the game, as we'd run out of time. I had been hoping for a decisive result, but it was still too close to call. The British had about 10 men left ready to fight, the Zulus had a couple of units plus a handful of muskets still fresh enough to fight (but getting close to a morale check). Could they have done it? Sebastian was doubtful, although Kelvin felt he could not have survived another attack. To be honest, we couldn't call it anything but a draw. Both commanders spent a lot of the gamer complaining that they were bound to lose, but I think both underestimated the British firepower and the effect of a square in defence.
An excellent day's gaming on the veldt! Full kudos to both commanders for duelling it out so heroically, from 10.30 in the morning to 5.30 in the afternoon. In my next post I'll ponder the rules used, where I went wrong with them, and some possible improvements. Thanks to Kelvin also for the photos, which are far superior than what can be achieved with my Blackberry!
The scenario was one I found on Boardgamegeek, and can be downloaded from there. It features a small unit of British engineers engaged in putting a bridge across a river in South Africa when they are surprised and attacked by marauding Zulus. In this post I'll simply detail the action, with the aid of some of Kelvin's excellent photos. In a subsequent post, I'll detail my thoughts on the system.
The scenario as it stood sees three sections of British infantry surprised at their riverside encampment by large numbers of Zulus. I beefed the British up by adding a small unit of Natal Natives (NNC) with rifles, and led by a colonial NCO, and a larger unit of Boer volunteers (contemptuously referred to as 'the farmers' by Maya). The whole was commanded by Major Carruthers, who spent most of the battle prancing around on his horse and taking pot shots hither and yon. He was largely useless, but what do you expect from someone who purchased his commission?
The Zulu force was based on a head count of the colonial army, multiplied by three. We had 80 Zulus on the table as part of the first wave, with a further 70 which Sebastian as the induna commanding could recycle on as the arriving head and loins of the impi. I gave him seven counters, which could be swapped for 10 Zulus apiece in his movement phase, if the models were there.
Kelvin deployed on both sides of the ford, with one platoon of British on the south side with the NNC, and two platoons with the Boers and Major Carruthers on the north side. The Zulus were equally split into two horns of the classic buffalo attacking formation. The left horn included a small unit of muskets, plus the elite White Shields regiment making its debut on my wargames table.
 |
| Initial deployment: NNC and one section of infantry on the right, two sections plus Boers on the left, one section strategically concealed behind the customs house. |
 |
| The British right flank, with White Shields advancing on the right, and a small unit of Zulus with muskets advanced into the brush directly in front of the British position. |
 |
| British left, with the "Mayans" moving across the British field of fire. The Zulus dithered, however, and hugged cover while they got into position, so this error went unpunished. |
 |
| The Boers take up their V-shaped defence, with Major Carruthers egging them on. The Mayans can be seen in the distance seeing off a Zulu iviyo. |

In the picture on the left, you can see the Mayans have formed a square, with some troops already wounded. Zulu muskets are trying to snipe at them from behind the mud huts, while another iviyo prepares to charge. The square turned out to be a lifesaver for them, allowing them to repel a charge which otherwise would have swamped them.
By this stage, the Zulus were running out of men, but so were the British. Another charge nearly succeeded in overwhelming the Boers, leaving all but five of them dead of wounded. On the right, the lone infantry section fell back until it was literally against the river. By this stage the White Shields had been decimated, their morale had broken, and their sole survivor on the field was hiding out in some elephant grass. However, the British were suffering too, as another event card determined the effects of bad water were taking hold.
At this stage we called the game, as we'd run out of time. I had been hoping for a decisive result, but it was still too close to call. The British had about 10 men left ready to fight, the Zulus had a couple of units plus a handful of muskets still fresh enough to fight (but getting close to a morale check). Could they have done it? Sebastian was doubtful, although Kelvin felt he could not have survived another attack. To be honest, we couldn't call it anything but a draw. Both commanders spent a lot of the gamer complaining that they were bound to lose, but I think both underestimated the British firepower and the effect of a square in defence.
An excellent day's gaming on the veldt! Full kudos to both commanders for duelling it out so heroically, from 10.30 in the morning to 5.30 in the afternoon. In my next post I'll ponder the rules used, where I went wrong with them, and some possible improvements. Thanks to Kelvin also for the photos, which are far superior than what can be achieved with my Blackberry!
You're welcome! I wish I'd taken more of the final stages of the battle.
ReplyDeleteIt was gruelling but great fun and never dull. Although the British may have been able to break the remaining Zulu units, I'm not sure they'd have enough fight in them to go around mopping up all the stragglers, and given how tough the individual unit commanders were, I was fearful of the damage the mounted Zulu chief could do.
Years later.... Great report and a nice looking table!
ReplyDelete